Stain under the sill
A brown mark or soft drywall below a window corner, often worse after rain from one direction.
Walls, terraces & decks · Jersey City, NJ
When the wall below a window stays damp after storms, the sealant joint around the frame has usually let go, and rain is running behind the trim. We cut out the failed caulk and rebuild the joint properly.
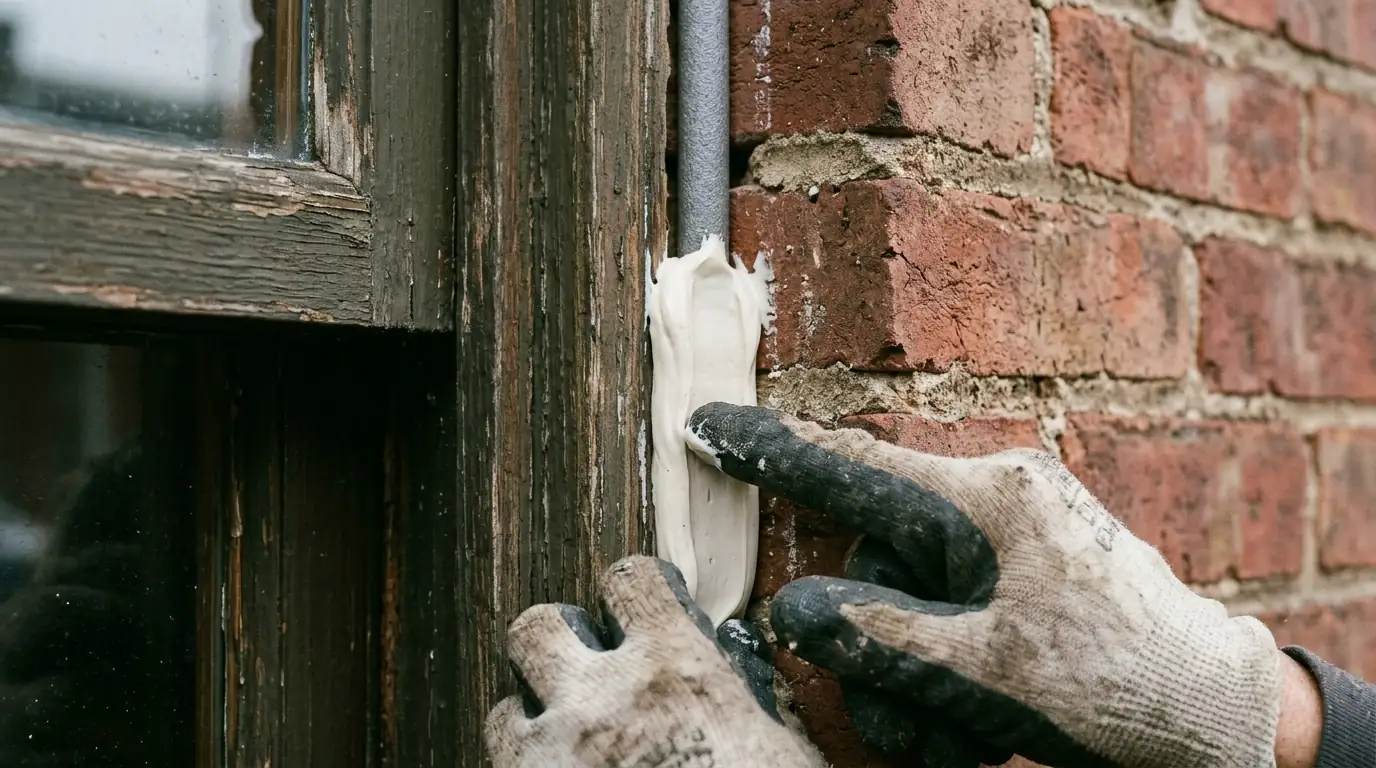
We reseal window and door perimeters on Jersey City rowhouses, frame houses and condo buildings where cracked or shrunken caulk lets rain behind the frame. Our technicians cut out the old sealant, clean and prime the joint, set backer rod to the right depth and tool a new bead that can stretch as the building moves. Call (201) 578-5199 day or night when a window starts leaking.
A leaking window rarely drips from the glass. Rain hits the frame, runs down its face and finds the gap where the frame meets brick, siding or stucco. From there it travels inside the wall and appears lower down: a soft patch of drywall under the sill, paint bubbling beside the casing, or a stain on the ceiling of the room below. On older brick rowhouses the gap often hides under a stone sill or behind a steel lintel, two places nobody looks until the plaster gives way.
The usual culprit is sealant at the end of its life. Caulk shrinks, hardens and pulls away from one side of the joint after years of summer sun and winter freeze-thaw. Sometimes the original bead was simply smeared over a wide gap with nothing behind it, so it tore the first winter. Wind-driven rain from a nor'easter then pushes water through that crack under pressure, which is why some windows stay dry all summer and only leak in one particular kind of storm.
Steel lintels deserve their own mention on brick buildings. The angle iron spanning the top of a masonry opening was often set with no flashing above it, so water that gets into the wall runs down onto the steel and sits there. Rust expands, lifts the brick above and opens the joints even further. Sealing at the lintel helps, but where the steel is badly rusted we'll tell you it needs repair before any new sealant goes on.
A brown mark or soft drywall below a window corner, often worse after rain from one direction.
Sealant that has split down the middle or pulled away from the brick or frame on one side.
Bubbling or peeling paint beside the interior trim, where water has been wicking through the wall.
If you feel air at the perimeter on a windy day, water can follow the same path in a storm.
Rust bleeding from the angle over a masonry opening, or brick lifting above it, means water is reaching the lintel.
A wet floor inside a terrace or entry door after rain, especially when wind blows toward that wall.
A sealant joint is not a fill. It's a flexible band that bonds to two sides and stretches as the frame and wall expand and contract with temperature. To do that it needs the right shape: roughly as wide as it is deep, stuck to the two sides only, and free to flex in the middle. Backer rod, a closed-cell foam cord pressed into the gap, sets that depth and keeps the sealant from bonding to the back of the joint, which would tear it the first time the building moves.
Before any new bead goes in, we cut out the old caulk completely. Laying fresh sealant over failed material just moves the failure line a few millimeters. We clean away dust and residue, prime where the surface calls for it, insert backer rod, then tool the bead so it presses firmly into both sides with a slight hourglass profile. On very wide joints at old masonry openings, we may build the gap down first so the sealant isn't asked to bridge more than it can handle.
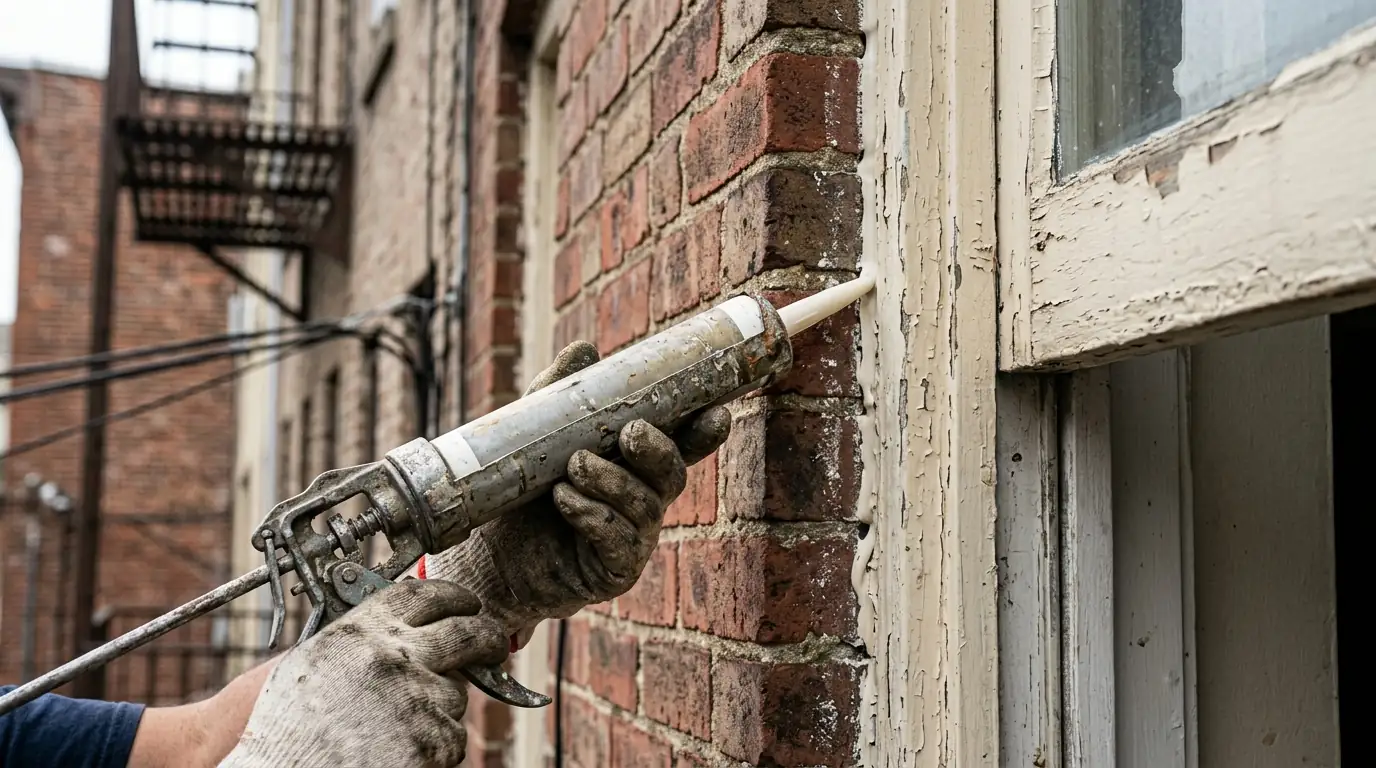
We look at the interior damage, then check the joints, sills and lintels above it outside. Where the source isn't obvious, we run a controlled hose test, starting low and working up, to pin down the exact entry point.
Our crew removes the failed caulk down to clean material on both sides of the joint. Loose mortar or rotted trim at the opening gets noted for repair.
We clear dust, residue and loose paint, then prime masonry or metal where the sealant calls for it. A clean, dry joint is what lets the new bead bond.
We set closed-cell backer rod to the right depth and gun in sealant suited to the materials. Each bead is tooled so it presses into both sides.
We seal open sill joints and confirm that lintels and weep openings can still drain. Sealing a weep shut traps water, so those stay open.
Every opening gets before and after photos. That helps landlords and condo boards keep track of which windows have been done.
Different joints need different chemistry. Silicone sealants hold up very well to sunlight and stay flexible for a long time, which makes them a strong choice on aluminum condo window walls and glass-to-metal joints. Polyurethane sealants grip masonry and wood well and can be painted, so they suit brick openings and painted trim on rowhouses and frame houses. Hybrid polymer sealants sit between the two and bond to mixed surfaces. Cheap acrylic caulk has its place indoors, but it doesn't belong on an exposed exterior perimeter.
We pick the sealant by what it has to stick to and how much the joint moves, and we check that it's compatible with any old material that can't be fully removed. Product choice matters less than most people expect. Surface prep and joint shape decide most of the outcome, and a well-shaped polyurethane joint will outlast a badly placed premium silicone almost every time. We'll explain which sealant we're using on your openings and why, without burying you in product sheets.
On waterfront condo and rental towers in Newport and around Exchange Place, perimeter leaks usually show at aluminum window walls where the factory sealant has weathered, or where one window unit butts into the next at a slab edge. Those jobs mean coordinating with property managers and boards and scheduling access through units. We photograph each opening we reseal, so the board has a clear record of which stacks are done and which are still waiting.
On downtown brick rowhouses, the weak spots are stone sills with open end joints, steel lintels that have rusted and pushed the brick, and the gap between wood frames and masonry. In the Heights and Greenville, frame houses leak where trim meets siding and at door thresholds. If water is coming through the brick around the opening rather than the joint, repointing the surrounding brick or treating the wall face may be the real fix. A leaking sill at a balcony door often traces back to the balcony membrane itself.
| Joint | Typical sealant | Why it fits |
|---|---|---|
| Aluminum condo window wall | Silicone | Stands up to sun and keeps flexing for years |
| Wood frame to brick opening | Polyurethane | Grips masonry and wood and takes paint |
| Stone sill end joints | Polyurethane or hybrid | Bonds to stone and handles movement |
| Siding to trim on frame houses | Hybrid polymer | Sticks to mixed surfaces and can be painted |
| Door threshold to masonry | Polyurethane over backer rod | Tough under foot traffic and weather |
$185 to $420
per opening, typical range
Most perimeter sealing work lands between $185 and $420 per opening. Treat that as a planning range; the actual price depends on what we find once the old caulk comes out.
Not listed? See every area we serve or call (201) 578-5199.
Membranes, sealers, pumps and dehumidifiers we work with come from makers such as
It depends on the sealant and the exposure. A properly shaped silicone or polyurethane joint on a sheltered wall can last many years, while the same joint facing south or toward the river wears faster from sun and wind. Thin beads smeared over wide gaps fail much sooner. Look over your perimeters every couple of years for cracks, gaps or caulk that has gone hard.
Wind-driven rain changes how water hits the building. In a nor'easter, rain is pushed sideways and even upward under pressure, so it forces its way through small gaps at sills, frame corners and failed caulk that stay dry in a straight-down summer shower. That pattern is a strong clue that the perimeter joint, not the glass or the roof, is where water gets in.
A good share of the work can often be done from outside or from common areas, but some openings need access through the unit, especially where interior trim must come off to trace a leak. We work out access with property management and the board before starting and give a schedule by floor or stack, so residents know when to expect us.
Not on its own. Sealant only bonds to sound material, so a rotted wood frame or a split frame corner has to be repaired before resealing means anything. We check frames as the old caulk comes out and tell you plainly when the frame, not the joint, is the real problem, so you don't pay to caulk something that will keep leaking.
Not if they're weep holes. Small open joints or tubes at the base of a masonry wall or just above a lintel are there to let trapped water drain out. Sealing them closes the exit and sends water inward instead. We seal failed joints at sill ends and frame edges but leave weeps open, and clear them if they're packed with debris or old caulk.
Call (201) 578-5199 and tell us what you're seeing. We'll set up a visit and give you a typical range before any work starts.