Wet line at floor level
Water appearing right where the wall meets the floor, spreading outward, is the classic cove joint pattern.
Basement & foundation · Jersey City, NJ
A thin line of water creeping out where the floor meets the wall after a downpour is a cove joint leak. We stop it by draining the water before it reaches that seam, not by caulking a gap that pressure will reopen.
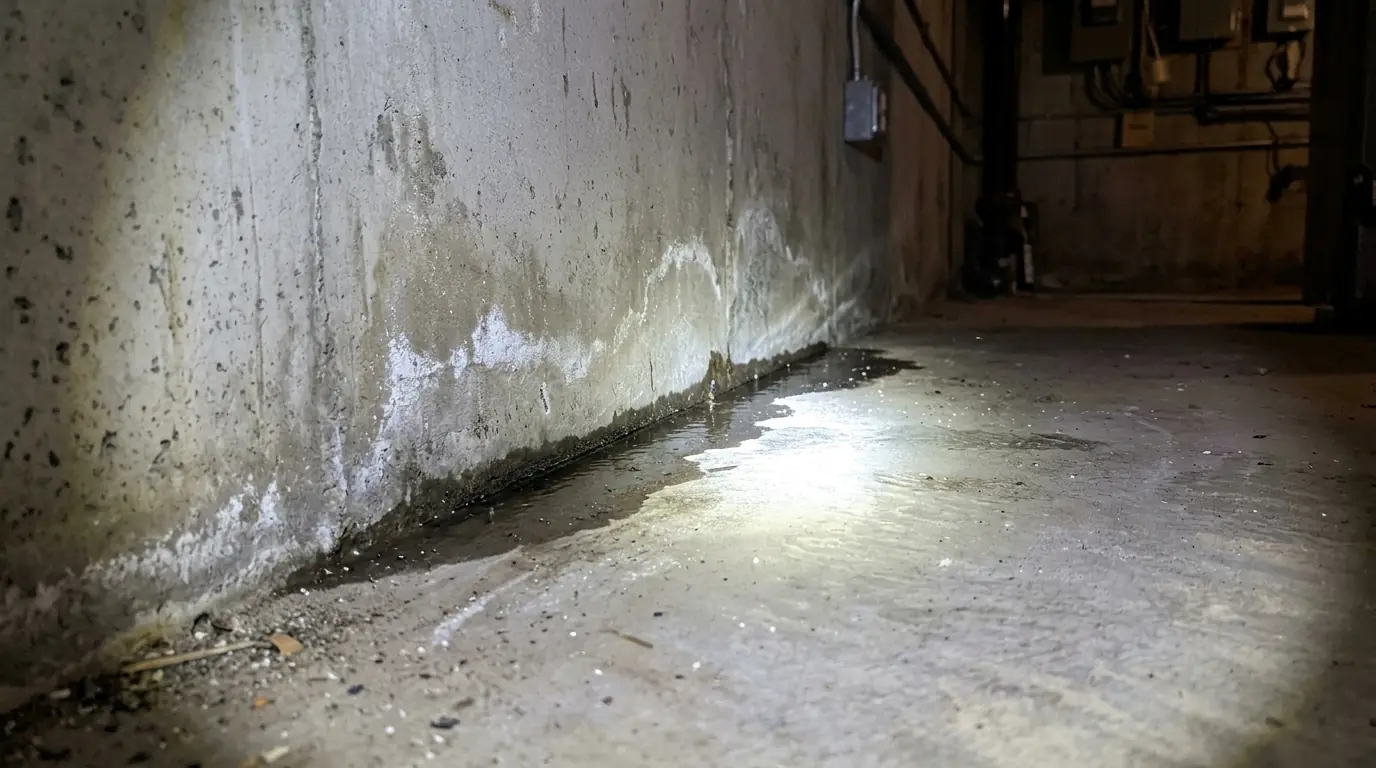
A cove joint leak is water entering at the seam where a poured basement wall meets the floor, pushed in by groundwater pressure after heavy rain. In Jersey City we fix it by installing a drain along the affected wall that relieves the pressure and sends water to a sump, and we treat any weeping floor cracks at the same time. Call (201) 578-5199 to schedule a look.
Most poured foundations are built in two separate pours. The footing goes in first, the wall is poured on top of it, and the floor slab is poured last inside the walls. Those pieces don't fuse together. The seam between the bottom of the wall and the edge of the slab, called the cove joint, is a built-in gap. When the soil is dry, nobody notices it. When groundwater rises after a long rain, it collects under the slab and against the footing, and that seam becomes the easiest way in.
This is the leak we see most in low parts of the city, especially on filled ground near the Hudson and Newark Bay, where the water table climbs quickly in storms. The pattern is distinctive: the floor stays dry most of the year, then after heavy or prolonged rain a wet band appears along one or more walls at floor level, spreads a foot or two onto the slab, and dries up again a day or two after the rain stops.
Condo and rental buildings with poured foundations see the same seam leak on a larger scale, often in storage rooms, mechanical rooms or below-grade units along one wall. There the timing and spread of the water look the same, and so does the fix, though we coordinate access and scheduling with the property manager. The cove joint is not a defect in the usual sense. It's how slabs and walls are built, and the leak simply means the ground outside is holding more water than the wall can shed.
Water appearing right where the wall meets the floor, spreading outward, is the classic cove joint pattern.
Seepage that comes and goes with long storms points to a rising water table, not a plumbing leak.
Floor cracks that darken during the same storms show pressure under the whole slab, not just at the edge.
If you've sealed the joint and the wet line returned or moved, pressure is pushing past the seal.
Water marks on the bottom of carpet or baseboards along the walls in a finished basement often start at the cove joint.
A damp smell strongest near the floor along one wall can signal repeated seepage at the joint.
The first thing many owners try is caulk, hydraulic cement or a bead of sealant along the seam. It's an understandable fix, and it fails for a simple reason. The water at a cove joint is under pressure from below and behind. A sealant on the inside face is a thin layer holding back a column of groundwater, and it's stuck to a surface that's damp half the year. It peels, the water finds the next weak spot a few inches over, and the wet line simply moves.
Worse, a seal that partly works can push the problem elsewhere. With the joint blocked, pressure under the slab looks for floor cracks, the sump pit edge or a floor drain. That's why we treat a cove joint leak as a drainage problem. Take the pressure off, and the joint stops leaking because the water no longer has to come through it.
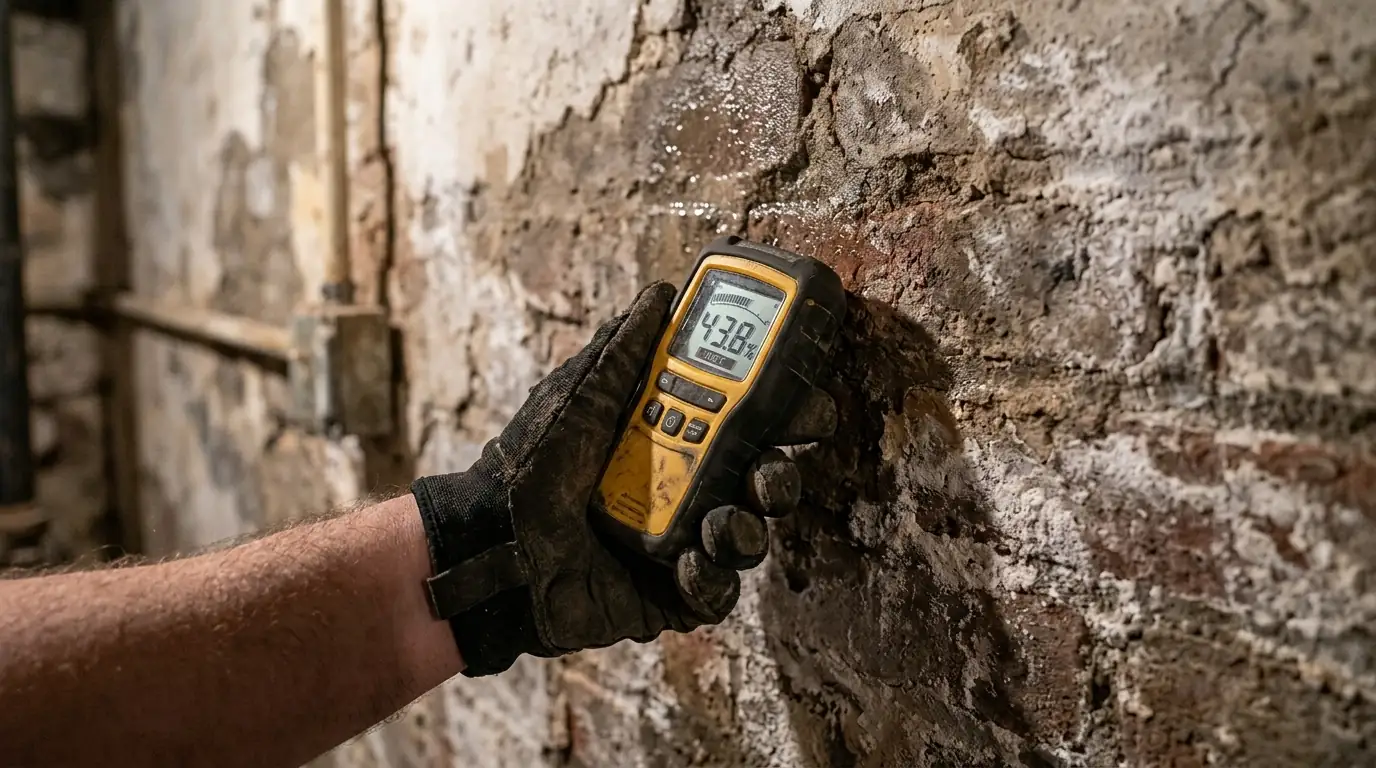
We check where the water starts, when it appears and whether floor drains are involved. That separates cove joint seepage from sewer backups and plumbing leaks.
We mark which walls need a drain and where the sump goes. A partial run and a full loop are both priced for comparison.
Our crew cuts and removes a strip of slab at the leaking walls under dust containment. We dig to the top of the footing.
Perforated pipe in washed stone goes in, pitched toward the sump, with membrane on the wall where it seeps. Problem floor cracks get a branch if needed.
We set or connect the sump, pump, check valve and discharge. Water is run through the drain to confirm it reaches the pit.
New concrete is poured flush with the floor along the wall. We clean up and show you how to test the pump.
For most cove joint leaks, the reliable fix is a drain along the wall that's leaking. Our crew cuts a strip of slab at the wall, digs to the footing, and sets perforated pipe in clean stone that runs to a sump. Water collects in the drain before it can rise to the seam. When only one or two walls leak, a partial run is enough, and it can be extended later from the same pit. If water is entering around most of the room, a full interior perimeter drain is the better value.
Where the slab is in good shape and the leak is mild, some owners ask about a surface channel glued along the floor edge. These catch water once it's already through the joint, but they don't lower pressure under the floor, and they can't help with slab seepage. We'll explain both honestly. In finished basements, any drain we install at the joint needs the bottom of the wall finish cut back, and we tell you how far before work begins.
Cove joint leaks often travel with a second symptom: damp floor cracks or wet patches in the middle of the slab. That's the same groundwater pressure pushing up through the concrete. Basement slabs are usually thin and unreinforced, and the shrinkage cracks they develop let water through when the water table rises. Sealing them from the top has the same weakness as sealing the joint.
When a drain goes in along the walls, pressure under the slab drops, and many of those floor cracks dry out on their own. Where a crack keeps weeping, we can extend a drain branch beneath it or seal it once the pressure is relieved. If you're also seeing water come up through a floor drain during cloudbursts, that's usually the combined sewer, not groundwater, and the fix is a backwater valve. For a broader view of every source, see our basement waterproofing page.
Outside, a few simple changes cut the load on the joint. Leaders that dump beside the foundation should carry water well away from the house, and soil or paving that slopes toward the wall should be corrected. These don't replace a drain where the water table itself is rising, but they reduce how much water reaches the footing from above, and on some houses they're the difference between a joint that leaks every storm and one that leaks only in the biggest ones. We point out what we see on every visit.
$890 to $3,400
per basement, typical range
Most cove joint repairs land between these figures, depending mostly on how many feet of wall need a drain and whether a sump already exists.
Not listed? See every area we serve or call (201) 578-5199.
Membranes, sealers, pumps and dehumidifiers we work with come from makers such as
You can, but it rarely holds. The water at that seam is under groundwater pressure, and a sealant on the inside surface is trying to resist it from the wrong side. Over a season or two it peels or the water finds a gap nearby. Relieving the pressure with a drain along the wall is what stops a cove joint leak for good.
Because the water table needs time to rise. Light rain soaks into the ground and drains away. Long or heavy storms saturate the soil and raise groundwater around the foundation until it reaches the footing and the seam above it. That's why low, filled ground near the rivers in Jersey City tends to show cove joint leaks after big storms.
It helps, because lowering water under the slab near one wall reduces pressure nearby, but it doesn't reliably protect walls far from the drain. If seepage shows up along several walls, we usually recommend running the drain along each of them, or a full perimeter loop, to the same sump.
It's the same cause, groundwater pressure under the slab, showing up in a different spot. Once a drain at the walls relieves that pressure, many floor cracks dry up. Any that keep weeping can get a drain branch or be sealed after the pressure is under control.
Call (201) 578-5199 and tell us what you're seeing. We'll set up a visit and give you a typical range before any work starts.